|
USB Jumpdrive - How to repair.
|
Here are the plain and simple steps.
- Make sure you have verified that your drivers are installed
correctly.
- Check to see if your device is under warranty or you do not
care about the warranty.
I will not be responsible if you void your warranty
or cause any other damages to yourself or equipment..
- Disasemble usb thumb drive with care.
- Check the solder joints for cracks.
- Carefully heat each joint and apply solder.
- Reassemble thumb drive.
Detailed steps
with pictures |
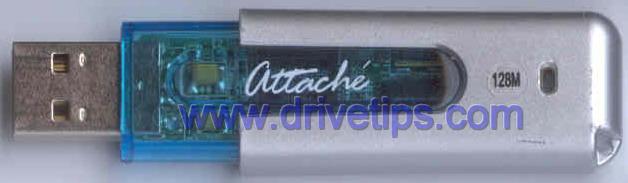
Here is the device I will
be preforming the solder joint fix on.
I have already verified there is not a driver issue.
|
|
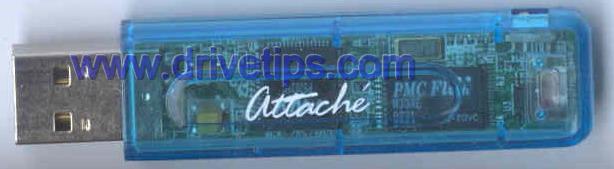
I have removed the outer cover of the
jumpdrive by gripping
the silver outer cover with one hand, holding the blue
plastic with the other and firmly wiggled and pulled the
silver outer cover off. You may have to tap the lip of
the outer cover on an edge of a desk or counter to first
get it to break lose.
|
 |
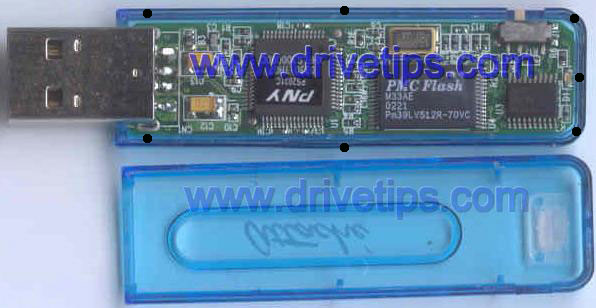
In order to split the cover apart you have
to carefully pry and twist at certain points with a small
screwdriver.
I have marked the points I used with black dots. It is best
to start on one seam and then do the other side, saving
the back for last. |
 |
| Here is the PCB with all componets removed
completely from the case. |
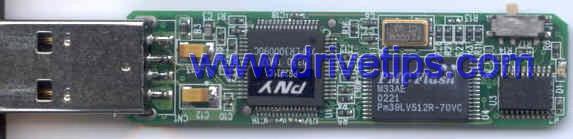 |
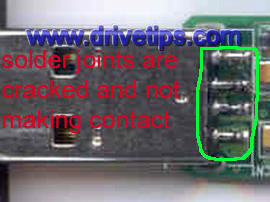
If you look at the joints
in the green circle, you will see there is not very much
solder on the four connectors.
If you look at your soldered connections through a magnifying
glass, you might see cracks in the solder.
The cracks will be a dull silver color.
Take your small pick and try to carefully lift on each
of the silver legs. If any of them lift up, it is definitely
broken and needs repaired.
|
 |
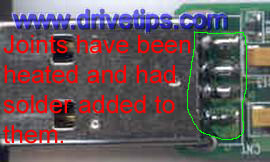
Carefully heat one of the
legs untill you see the solder liquify on the leg.
Then touch your solder lightly on the tip of the iron
and leg connecting to the board.
Do this to each one of the broken connections. Just to
be on the safe side, I would do it to each one anyway.
Be very careful not to overheat the connections and bump
your soldering iron against any other componets.
After you re-solder one leg, let it cool down for a minute
or two before you proceed to the next.
|
 |
After you have repaired you
drive it is time to reassemble it. I used extremely small
drops of super glue. I place a drop on each one of the black
dots represented in the picture.
It may not be necessary
to glue this drive back together because of the outer cover
holding it together. It might be necessary for other jumpdrives. |
|
|